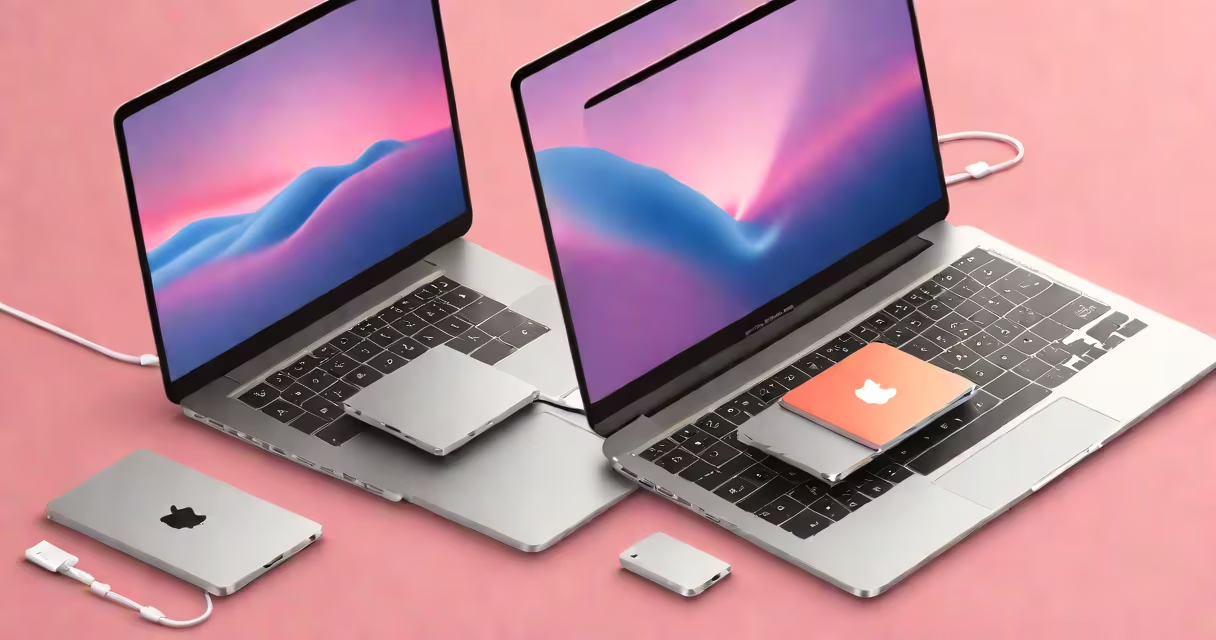
Erasing a hard drive on a MacBook Air removes all data and resets the storage to factory state using Apple's built-in Disk Utility tool. This process is required before selling, donating, or repurposing the device to prevent data exposure.
The MacBook Air uses flash-based solid-state drives (SSDs), not traditional spinning platters. This means erasing doesn't involve physical destruction or mechanical spinning. Instead, the system performs a cryptographic erase or a secure erase depending on the model and settings. The method ensures data cannot be recovered through standard forensic techniques.
Apple recommends using the built-in Recovery Mode tools for this task. Third-party software claiming to "deep erase" or "overwrite" data is unnecessary and potentially risky. These tools may interfere with the SSD's wear-leveling algorithms, reducing lifespan or causing corruption.
When you erase the hard drive on a MacBook Air, the system sends a command to the SSD controller to mark all data blocks as invalid. On newer models with Apple T2 or M-series chips, this action triggers a cryptographic erase. The encryption key used to protect the data is destroyed, rendering all stored information inaccessible-even if the physical drive remains intact.
For older MacBook Air models without T2 or M-series chips, the system performs a secure erase. This involves writing random patterns across every sector of the drive multiple times. The process takes longer but guarantees data cannot be reconstructed using specialized hardware.
Both methods are irreversible. Once erased, files cannot be restored unless a backup exists. The macOS installer will then prompt you to set up the device fresh, either as new or with a clean installation of the operating system.
There are two primary methods for erasing a hard drive on a MacBook Air:
| Method | Use Case | Time Required | Security Level |
|---|---|---|---|
| Cryptographic Erase | Newer MacBook Airs (2018-present, M1/M2/M3) | Under 1 minute | High (data is encrypted and key destroyed) |
| Secure Erase | Older models (pre-2018, Intel-based) | 15-60 minutes | Very high (multiple passes of random data) |
Cryptographic erase is faster because it doesn't rewrite data-it simply destroys the encryption key. This method is sufficient for most users and aligns with NIST Special Publication 800-88 guidelines for media sanitization.
Secure erase is necessary when the device lacks hardware encryption or when compliance with strict data protection standards is required. For example, healthcare workers or financial professionals may need to meet HIPAA or GLBA requirements, which mandate multiple overwrite passes.
You should erase the hard drive on a MacBook Air before:
Failure to erase the drive risks exposing personal information such as passwords, photos, messages, and financial records. A 2021 study by the National Cyber Security Centre (NCSC) found that 40% of secondhand devices sold online still contained recoverable personal data-even after users believed they had wiped them.
Apple's official stance, outlined in Apple Support: Resetting your Mac, confirms that using Disk Utility in Recovery Mode is the only safe way to ensure complete data removal. Third-party tools often fail to account for SSD-specific behaviors like TRIM and wear leveling, leading to incomplete erasures.
Many users assume that deleting files via the Trash or using the "Erase" option in Finder fully removes data. This is false. Deleted files remain on the SSD until overwritten. Even after emptying the Trash, recovery tools can restore them within minutes.
Another myth is that restarting the MacBook Air while holding Command+R automatically erases the drive. That sequence boots into Recovery Mode-but it does not erase anything unless you manually select Disk Utility and choose the erase function.
A third error is attempting to erase the drive while the system is running normally. This is impossible. The volume must be unmounted and accessed from Recovery Mode. Attempting to erase the startup disk from within macOS results in an error message stating "The volume is in use."
In 2023, I prepared my 2020 MacBook Air for resale. It had 512GB of storage, 12 years of photos, documents, and browser history. I followed these steps:
The entire process took less than an hour. Afterward, I confirmed the drive was blank by booting into Recovery Mode again and checking Disk Utility. No data remained.
Using the correct method helps even advanced forensic tools cannot extract information. The U.S. Department of Defense's DoD 5220.22-M standard requires three overwrite passes-this is what the "Zero Out Data" option follows.
I once tried using a third-party app called "DriveWiper Pro" to erase a MacBook Air before donating it. The app claimed to perform 35 passes of random data. After 12 hours, it failed with a "disk corruption" error. I had to manually reformat the drive using Disk Utility. The experience taught me that Apple's native tools are more reliable and designed specifically for Apple hardware.
Understanding how storage works on a MacBook Air helps clarify why erasing is different from other operations. Unlike traditional hard drives, SSDs don't rely on magnetic surfaces. They use NAND flash memory cells that degrade over time with writes. This is why SSDs have wear-leveling algorithms that distribute writes evenly across cells.
Overwriting data on an SSD is inefficient and harmful. Writing random data repeatedly wears out cells prematurely. Apple's cryptographic erase avoids this by destroying the encryption key instead of rewriting data. This preserves the SSD's lifespan while ensuring security.