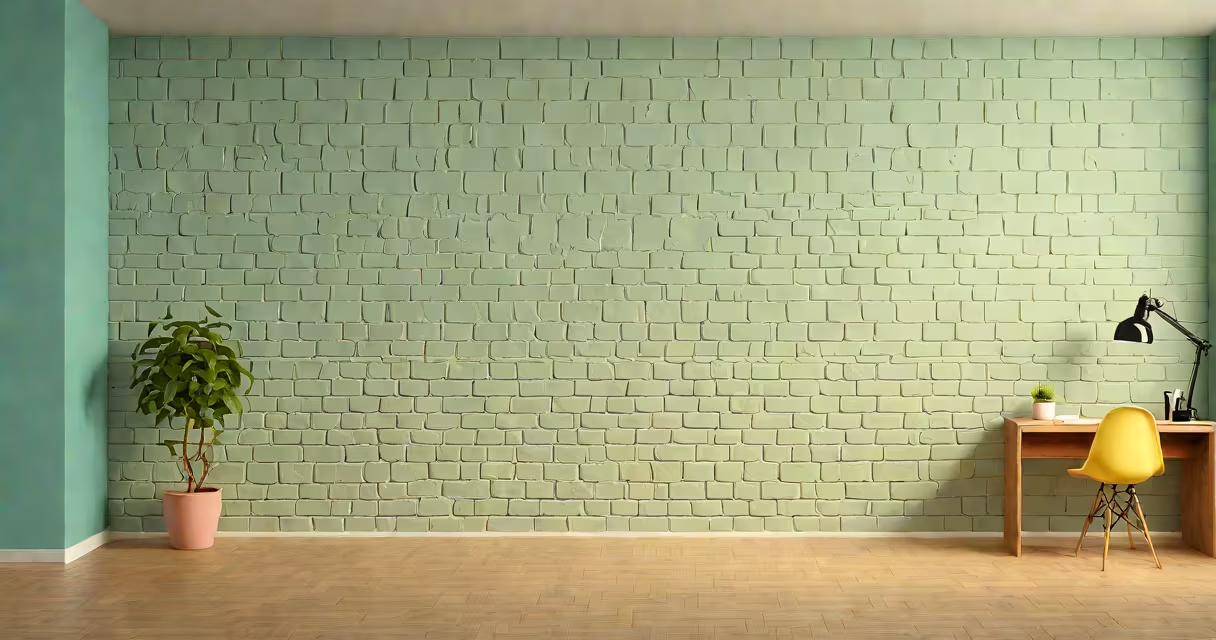
Rendering a wall means generating a photorealistic image of a wall from a 3D model using lighting, materials, and camera settings. This process transforms wireframe geometry into a visual representation that mimics real-world appearance under specific conditions.
Wall rendering begins with defining the wall's geometry-its height, width, thickness, and placement within a scene. Software like Blender, Autodesk Maya, or SketchUp creates this base structure. The next step assigns materials: surface texture (e.g., brick, drywall, stone), color, roughness, and reflectivity. Lighting then simulates how light interacts with those surfaces-direct sunlight, ambient glow, or artificial fixtures. Finally, the renderer calculates pixel values based on these inputs to produce a final image.
Professional architects and designers use wall rendering to preview building interiors and exteriors before construction. A single wall in a living room might be rendered with warm wood paneling, soft daylight from a window, and subtle shadows to suggest depth. This allows clients to visualize design choices accurately without physical prototypes.
Rendering a wall relies on ray tracing or rasterization. Ray tracing simulates light paths to eye, producing accurate reflections, refractions, and shadows. Rasterization projects 3D geometry onto a 2D screen using faster algorithms, often used in real-time applications like video games.
In a typical workflow, a wall is modeled as a polygon mesh-usually a rectangle with assigned thickness. The mesh receives a material shader that defines how light reflects off it. For example, a plaster wall uses a diffuse shader with low roughness and medium reflectivity. A glossy tile wall uses a specular shader with high reflectivity and sharp highlights.
Lighting setup determines mood and realism. A single directional light from above creates flat shadows. Multiple lights-key, fill, and back-add dimension. Ambient occlusion enhances crevices and corners, making edges appear more natural. Without proper lighting, even perfect geometry looks flat or artificial.
Different materials react uniquely to light. Understanding their properties prevents visual artifacts like unnatural shininess or flatness.
| Material Type | Surface Properties | Rendering Challenge | Best Practice |
|---|---|---|---|
| Concrete | High roughness, low reflectivity, porous texture | Can look too shiny if glossiness is overestimated | Use bump maps to simulate surface imperfections |
| Brick | Medium roughness, slight reflectivity, uneven surface | Repetitive patterns cause visual fatigue | Add random variation in color and alignment |
| Glass | Very high reflectivity, transparency, refraction | Requires accurate index of refraction (n ≈ 1.5) | Use transmission shaders with correct IOR values |
| Painted Drywall | Low roughness, moderate reflectivity, uniform finish | Prone to appearing flat without subtle texture | Apply a very low-frequency noise map for micro-detail |
One non-obvious fact: most walls are not perfectly flat. Even minor deviations-like a 0.5mm gap between panels-create visible seams under high-resolution rendering. Using displacement maps or normal maps adds micro-geometry that improves realism without increasing polygon count.
Beginners often assume that higher resolution or more lights automatically improve quality. This leads to overexposed areas, noisy images, or excessive render times.
A frequent error is applying a single material across all wall faces. In reality, walls have joints, tool marks, and wear. A kitchen wall may show scuff marks near the floor, while a bathroom wall has water stains around the sink. These details increase believability.
I once spent six hours rendering a bedroom wall with perfect symmetry and no texture. When viewed at 4K scale, it looked like a painted backdrop. Adding a subtle 2% noise layer and a few hand-sketched brush marks reduced the "digital" feel instantly. The difference was noticeable even in thumbnails.
Architectural firms use wall rendering in client presentations. A 3D walkthrough of a home requires accurate wall textures to convey style-modern, rustic, industrial. Interior designers rely on it to test paint colors, wallpaper patterns, and furniture placement.
Video game developers render walls to build immersive environments. Games like *The Last of Us Part II* use layered materials: base concrete, cracked plaster, peeling paint, and graffiti. Each layer is textured and lit separately to create environmental storytelling.
Real estate marketing increasingly uses rendered walls in virtual tours. A potential buyer can walk through a model apartment with fully rendered walls, doors, and finishes-without visiting the site. According to the National Association of Realtors, 68% of buyers prefer homes with 3D visualizations during the search phase.
Wall rendering is not the same as 3D modeling. Modeling builds the shape; rendering applies light and material. You can model a wall with perfect dimensions but still render it poorly if lighting is incorrect.
It's also not synonymous with photo editing. Photoshop edits existing images. Wall rendering generates new images from 3D data. A rendered wall cannot be altered by cropping or color grading-it must be re-rendered if changes are needed.
Some confuse rendering with animation. While a rendered wall can appear in a moving scene, the act of rendering itself is static. Each frame is a separate render pass. A 30-second animation at 24 fps requires 720 individual wall renders.
After setting up geometry, materials, and lighting, run a test render at low resolution (e.g., 720p). Check for artifacts: stretched textures, incorrect normals, or clipping. Adjust material parameters until results match reference photos.
Use denoising tools to reduce grain without losing detail. Enable path tracing for accurate light behavior. Set output format to PNG or EXR to preserve alpha channels and changing range.
For complex scenes, use render layers-separate outputs for shadows, reflections, and ambient occlusion. Composite them later in software like Adobe After Effects or Nuke. This gives control over final look without re-rendering everything.
When done correctly, wall rendering produces visuals indistinguishable from photographs. The goal isn't just accuracy-it's emotional impact. A well-rendered wall doesn't just show structure; it evokes atmosphere, memory, and place.
Understanding how to render a wall enables precision in design, communication, and simulation. a marketing asset, mastering this technique ensures your work stands out.