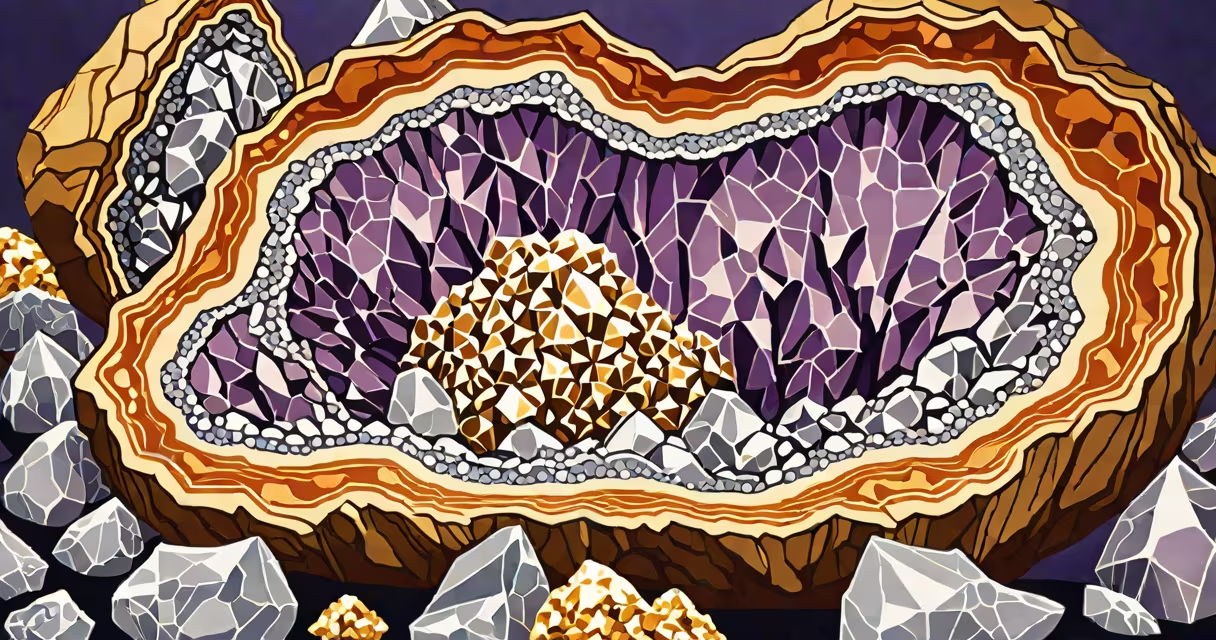
A geode is a rock formed from a cavity lined with crystals, typically quartz or calcite. When damaged, cloudy, or lacking luster, it can be restored through cleaning, polishing, or structural repair. Fixing a geode involves removing surface debris, reshaping cracked edges, and applying abrasives to reveal its inner crystal structure.
Geodes form over thousands of years when mineral-rich water seeps into hollow spaces in volcanic or sedimentary rock. As the water evaporates, it deposits layers of crystals. Natural geodes often appear as unremarkable stones until split open. The most common issues requiring repair are surface cloudiness, minor cracks, or incomplete exposure of internal crystals.
Fixing a geode requires identifying the damage type. Surface residue from mining or handling dulls the appearance. Cracks may result from impact during collection or transport. Internal crystal growth may be obscured by matrix material. Repair methods differ based on the issue. Cleaning restores clarity. Polishing enhances shine. Structural repair stabilizes fractures.
Surface cleaning removes dust, clay, or iron oxide that coat the outer layer. These substances block light transmission and reduce visual contrast between the rock matrix and embedded crystals. A soft brush and mild detergent solution remove loose particles. For stubborn residues, a 10% vinegar-water mix breaks down mineral deposits without harming quartz.
Polishing uses graded abrasives to smooth rough surfaces. Start with 600-grit sandpaper to level uneven areas. Progress to 1500-grit and then 3000-grit wet sanding to achieve a mirror finish. Finish with a microfiber cloth and jeweler's rouge for high gloss. This process exposes the crystal lattice beneath the surface layer.
For cracks, epoxy resin injection fills gaps and prevents further splitting. Use a low-viscosity, UV-curable resin applied via syringe. Inject slowly to avoid air bubbles. Cure under UV light for 30 minutes. Once hardened, sand and polish the repaired area. This method preserves structural integrity while maintaining aesthetic continuity.
Damage to geodes falls into three categories: surface contamination, physical fracture, and poor exposure. Each requires distinct treatment. Surface contamination includes dirt, oil, or oxidation. Physical fracture results from dropping or improper handling. Poor exposure occurs when the geode was not split cleanly or contains too much matrix.
| Damage Type | Repair Method | Tools Needed | Time Required |
|---|---|---|---|
| Surface Cloudiness | Cleaning with mild acid wash | Vinegar, soft brush, gloves | 15-30 min |
| Minor Crack | Epoxy injection + sanding | Syringe, UV lamp, 600-3000 grit paper | 2-4 hours |
| Matrix Overgrowth | Controlled grinding | Rotary tool, diamond bit, safety mask | 1-3 hours |
One non-obvious fact: many people assume geodes must be split open to see their interior. But some geodes retain their outer shell and still display beauty when polished. A geode with a smooth, intact exterior can be sanded and buffed to reveal crystal patterns through translucent stone. This technique is common in lapidary art and used commercially for decorative pieces.
People often mistake geode repair for crystal healing or energy work. Fixing a geode is a physical process involving materials science and mechanical precision. It does not alter metaphysical properties. Quartz crystals have piezoelectric behavior, but that's unrelated to polishing or gluing.
Another misconception is that all geodes must be opened. Some specimens are left whole and polished as ornamental objects. The Smithsonian Institution displays several intact geodes from Nevada and Utah, polished to a high sheen. These were never split and remain sealed, preserving their original form.
Some believe that using a drill to open a geode is safe. This is false. Drilling without proper cooling causes thermal stress and cracking. Always use a diamond-tipped rotary tool with water coolant. Failure to do so risks shattering the specimen.
I once received a geode from a collector in Arizona. It measured 12 cm wide and had a hairline crack running from the base to the center. The surface was coated in dried mud and iron stains. After soaking in a 10% vinegar solution for 30 minutes, I used a 600-grit wet sanding pad to smooth the crack edges. I injected clear UV-curable epoxy into the fissure using a syringe. After curing under a 365nm UV lamp, I sanded the area with 1500-grit paper and finished with jeweler's rouge. The final result showed no visible seam and restored the original luster.
According to the Smithsonian National Museum of Natural History, geodes are valued for both scientific and aesthetic reasons. Their formation provides insight into geological processes. Proper care ensures long-term preservation. The Rockhounds Association recommends avoiding household cleaners with ammonia, which can etch quartz surfaces.
When restoring a geode, always test cleaning solutions on a small, inconspicuous area first. Avoid abrasive pads on delicate crystal formations. Work in a well-ventilated space when using chemicals or resins. Safety goggles and gloves are essential.
Understanding how to fix geode enables hobbyists and collectors to preserve natural wonders. Whether repairing a cracked specimen or enhancing its shine, the process respects the geode's origin while extending its life. With proper tools and attention, even damaged geodes can regain their brilliance.