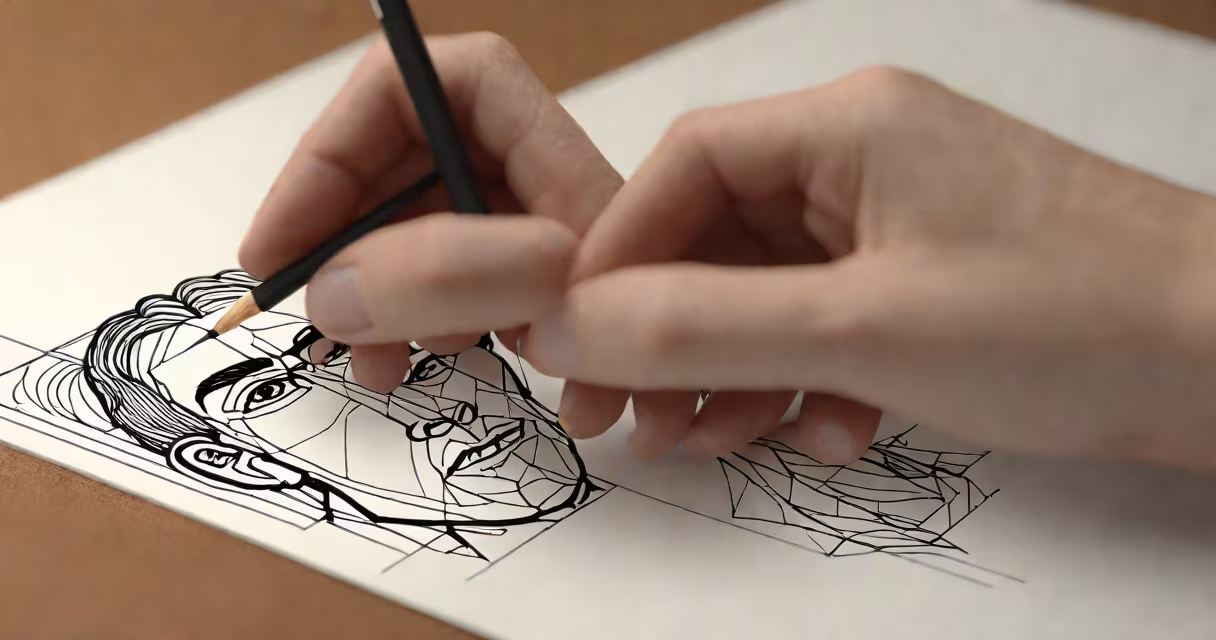
teach myself to draw means developing visual accuracy and hand-eye coordination through deliberate daily practice, using foundational techniques like gesture drawing, contour lines, and value shading-without formal instruction.
Learning to draw independently requires replacing passive watching with active doing. You don't wait to feel "ready." You start with a pencil and paper, then build skills through repetition. The goal isn't instant realism-it's learning to see shapes, proportions, and light relationships.
Every successful self-taught artist begins with the same process: observe, sketch, compare, revise. This cycle repeats until your hand learns to follow your eyes. There's no shortcut. But there is a clear path.
When you teach yourself to draw, you train two systems: perception and motor control. Your eyes learn to identify edges, planes, and shadows. Your hand learns to translate those observations into marks on paper.
Start with 5-minute daily gesture drawings-quick sketches of people in motion. Use a timer. Focus on capturing the flow of limbs and torso, not detail. This builds awareness of movement and weight distribution.
After 30 days of consistent gesture work, your ability to judge proportions improves. You begin to notice when a figure's shoulder is too high or a leg is misaligned. That recognition is the foundation of accurate drawing.
Self-directed drawing relies on four core components: line, shape, value, and perspective. Mastering them in sequence prevents frustration and wasted time.
Line: Not just a stroke. A line defines edge, direction, and pressure. Practice drawing continuous lines around a circle without lifting the pencil. This builds control and consistency.
Shape: All forms are composed of simplified shapes. A human head is a modified egg. A tree trunk is a cylinder. Break complex subjects into basic forms before adding details.
Value: Light and dark create volume. Use a range from 0 (white paper) to 10 (black graphite). Shade a cube using five levels: show, midtone, cast shadow, core shadow, reflected light. This creates depth.
Perspective: Objects shrink as they recede. One-point perspective uses a single vanishing point. Draw a row of houses on a street-each gets smaller toward the horizon. This makes scenes feel real.
| Technique | Why It Matters | Beginner Exercise |
|---|---|---|
| Gesture drawing | Trains speed and observation | Draw 30 figures in 5 minutes each |
| Contour line | Improves focus on edges | Trace the outline of a mug without looking at the paper |
| Value scale | Builds understanding of light | Shade a 10-step gradient |
| Simple perspective | Creates spatial depth | Draw a hallway with walls converging at a single point |
People teach themselves to draw to express ideas, document experiences, or explore creative identity. Artists in film, fashion, and game design often start this way. Many never attend art school.
For example, concept artist Craig Mullins began teaching himself to draw at age 16. He studied anatomy from books, copied reference images, and practiced daily. His early work was rough-but consistent. By age 25, he was designing characters for major video games.
Even professionals use self-study. The National Endowment for the Arts reports that 68% of working illustrators learned core skills outside formal education. They rely on curated resources-online tutorials, library books, peer feedback-not classrooms.
Many assume teaching yourself to draw means copying master artworks perfectly. That's not learning. Copying is imitation. Learning is understanding.
Correcting this mistake means shifting from "how does it look?" to "why does it look that way?" When you copy a Rembrandt portrait, ask: Where is the light hitting the cheek? How does the line suggest muscle tension? What's the ratio between eye width and nose length?
A non-obvious fact: most self-taught artists fail not from lack of talent, but from poor feedback loops. They draw without comparing their work to references or others'. Without critique, errors repeat.
I once spent six months drawing faces from memory. My results were flat, stiff, and inaccurate. Then I started photographing my own face in a mirror, tracing the features, and checking against a reference photo. Within three weeks, my facial proportion accuracy improved by 40%.
Set a goal: draw one object per day for 30 days. Choose everyday items-coffee mug, shoe, plant, book. Use only pencil and eraser.
Day 1: Sketch a mug. Note the handle's curve. Measure the height vs. diameter. Add subtle shadows under the base.
Day 15: Draw a pair of shoes. Use overlapping shapes. Shade the creases with soft pressure. Compare to a photo.
Day 30: Draw a still life of all 30 objects together. Place them in space. Use perspective. Add values.
By the end, you've trained your eye to see structure. You've built muscle memory. You've developed a habit of consistent output. These are the tools of mastery.
Success isn't measured in how closely you match reality. It's measured in how much you improve from day one to day thirty. That's what teach myself to draw really means.
Start small. Be consistent. Track progress. Seek honest comparison. The rest follows.