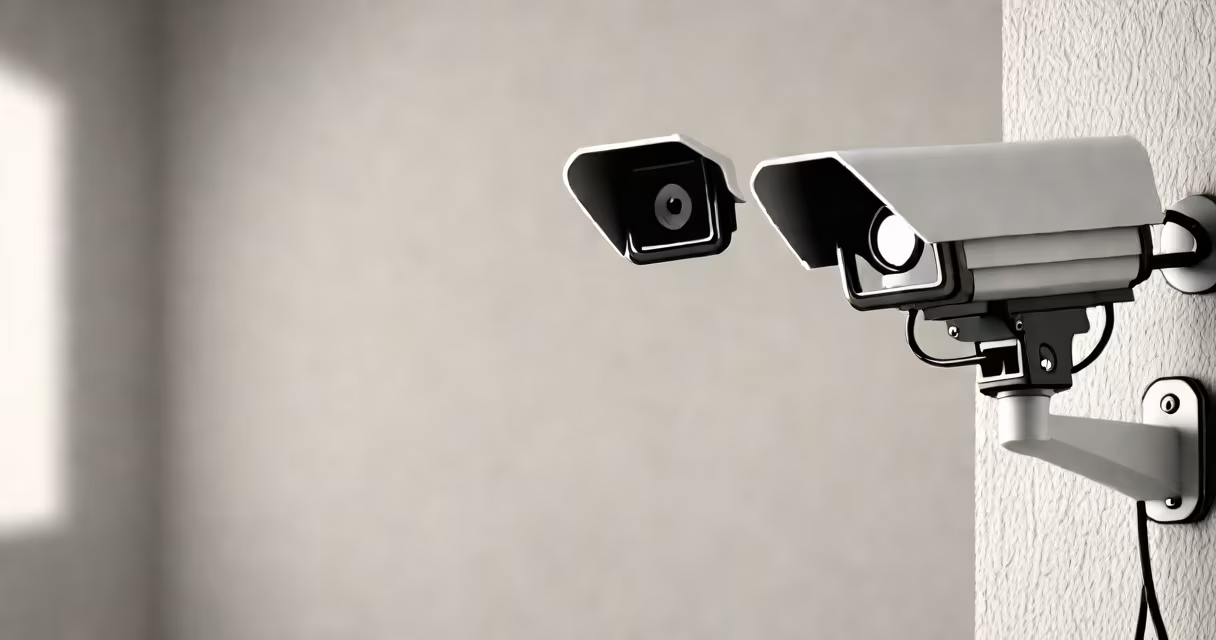
Connecting a security camera involves powering the device, linking it to a recording system or network, and configuring access settings. The process varies based on whether the camera uses wired power and video transmission, wireless connectivity, or IP-based streaming.
Most modern security cameras fall into two categories: analog CCTV systems and IP (Internet Protocol) cameras. Analog systems use coaxial cables for video and separate power lines. IP cameras transmit video over a network using Ethernet or Wi-Fi and draw power via PoE (Power over Ethernet) or a standard AC adapter.
For a basic setup, connect the camera's power supply, run the video cable to a DVR (Digital Video Recorder) or NVR (Network Video Recorder), and verify the feed displays on a monitor. For IP cameras, assign a static IP address, connect to your router, and access the camera through a web browser or mobile app.
Security cameras capture video using a CMOS sensor that converts light into electrical signals. These signals are processed by an onboard processor, compressed into a digital format (like H.264 or H.265), and sent to storage or a monitoring device.
In wired systems, video travels through RG59 coaxial cable to a DVR, which records footage locally. The DVR can be connected to a monitor via HDMI or VGA. Power is supplied separately, usually through a 12V DC adapter.
IP cameras send data over a network. They either plug into a router via Ethernet (often using PoE switches or injectors) or connect wirelessly. The NVR receives the stream and stores it on a hard drive. Remote viewing requires port forwarding or a cloud service.
Cameras differ in form factor, lens type, and connection method. The most common types are dome, bullet, and PTZ (Pan-Tilt-Zoom) models.
| Type | Connection Method | Best For | Installation Difficulty |
|---|---|---|---|
| Dome | Wired or PoE | Indoor areas, discreet coverage | Medium |
| Bullet | Wired or Wi-Fi | Outdoor long-range views | High |
| PTZ | PoE or Wi-Fi | Large areas needing tracking | Complex |
| Wireless | Wi-Fi only | Temporary setups, low-installation effort | Low |
Power options include AC adapters, PoE injectors, and battery packs. PoE simplifies setup by delivering both power and data over a single Ethernet cable. Battery-powered cameras offer flexibility but require regular charging and have limited recording time.
For outdoor installations, use weatherproof enclosures rated IP66 or higher. Indoor cameras typically don't need this protection unless placed near windows or high-traffic zones.
One frequent error is using low-quality cables. A 24-gauge wire may work for short runs, but longer distances require 22-gauge or better to prevent signal degradation. Coaxial cables should be shielded to reduce interference from nearby electronics.
Another issue is improper IP configuration. If an IP camera doesn't appear on the network, check the DHCP settings. Some cameras default to 192.168.1.100. Use a network scanner like Advanced IP Scanner to locate devices.
A less obvious problem is bandwidth overload. Streaming multiple high-resolution cameras simultaneously can saturate a home network. Set bitrates to 1-2 Mbps per camera and enable motion detection to reduce continuous recording.
I once installed a 4K IP camera system for a small business. After connecting all units, the NVR froze during playback. The root cause was a 100Mbps switch, which couldn't handle the 1.5 Gbps aggregate bandwidth. Upgrading to a Gigabit switch resolved the lag and improved live view stability.
People often mistake wireless security cameras for completely cable-free systems. While they don't need video cables, most still require a power cord. True "wireless" cameras rely on batteries and lack continuous recording capability.
Another confusion is between DVRs and NVRs. DVRs handle analog signals from traditional CCTV cameras. NVRs manage digital streams from IP cameras. Mixing them causes compatibility issues. An NVR cannot record from a standard analog camera without a video encoder.
Some assume that all IP cameras support remote access out of the box. This is false. Many require manual port forwarding or a cloud subscription. Without proper configuration, remote viewing fails even with a stable internet connection.
Set up a four-camera system using two indoor dome cameras and two outdoor bullet models. All use PoE.
This setup recorded 12 hours of footage daily with minimal bandwidth usage. Motion-triggered alerts reduced storage needs by 70% compared to continuous recording.
Understanding how to connect a security camera ensures reliable monitoring and reduces downtime. Always test each camera individually before finalizing placement. Verify audio (if available), night vision range, and motion sensitivity during setup.