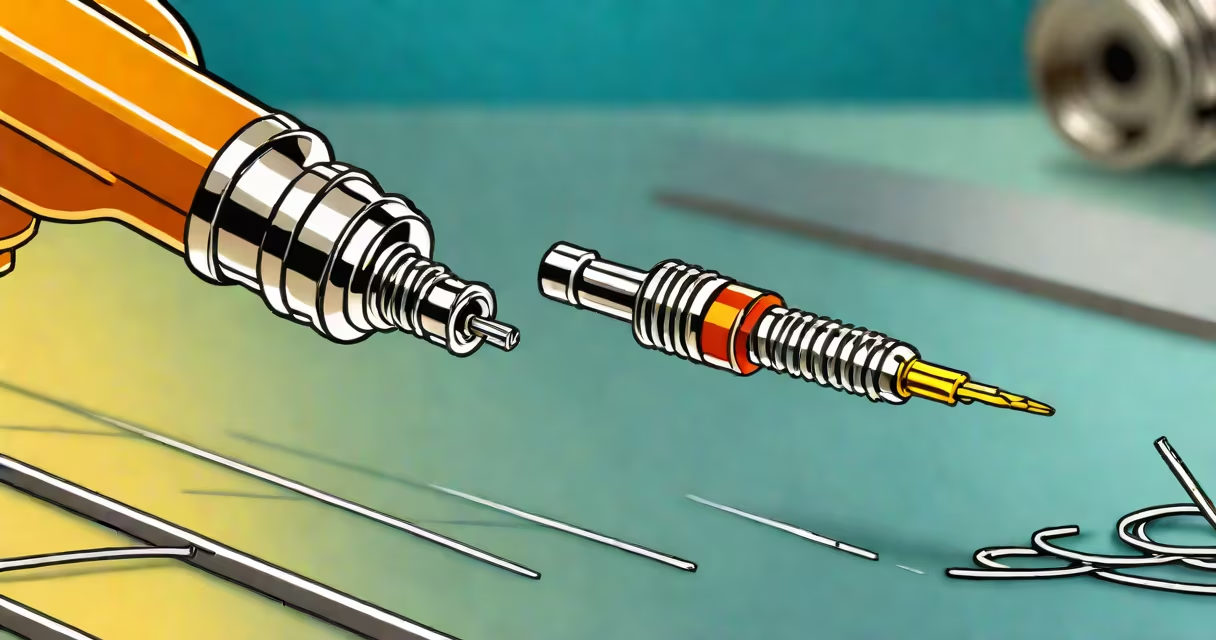
Soldering irons melt solder to create permanent electrical and mechanical connections between metal parts, especially in electronics. They apply focused heat to fuse solder onto metal surfaces, forming reliable joints on circuit boards and wiring.
The core function is thermal precision: a soldering iron heats a metal tip to a controlled temperature, typically between 300°C and 400°C (572°F-752°F), to liquefy solder without damaging nearby components. This process secures wires, connects integrated circuits, and repairs broken traces on printed circuit boards.
According to the Institute of Electrical and Electronics Engineers (IEEE), proper solder joint integrity reduces failure rates in electronic systems by up to 60%. A well-made joint conducts electricity efficiently and resists vibration and thermal stress over time.
A soldering iron uses resistive heating. When powered, an electric current passes through a resistive element inside the tip, generating heat. The tip's metal-usually copper-conducts heat quickly to the work area. Temperature control varies by model: basic irons run at constant heat, while advanced ones use feedback sensors to maintain set temperatures.
When the tip reaches operating temperature, solder is applied. The solder melts and flows via capillary action into gaps between metal surfaces. As it cools, it solidifies into a strong bond. The process takes seconds per joint.
For example, repairing a loose connection on a smartphone motherboard requires a soldering iron set to 350°C. The technician touches the tip to the joint, applies a thin strand of tin-lead solder, and removes the iron. The solder wets the metal surfaces evenly and forms a shiny, concave joint within 2-3 seconds.
Soldering irons differ by power, tip design, and control method. Common types include:
| Type | Power Range | Control Method | Best For |
|---|---|---|---|
| Basic Plug-In | 15-40W | Manual | Simple repairs, hobby projects |
| Temperature-Controlled | 20-60W | Adjustable dial or digital display | PCBs, surface-mount components |
| Variable-Heat Digital | 30-100W | Microprocessor-controlled | Professional electronics, fine-pitch work |
Tip shapes matter too. Chisel tips suit large pads and through-hole components. Conical tips allow precise placement on small traces. Flat tips work well for lifting solder during desoldering.
One overlooked detail: tip oxidation degrades performance. A clean tip transfers heat efficiently. A corroded tip causes cold joints-weak connections that fail under stress. Cleaning with a damp sponge after each use prevents buildup.
Soldering irons are standard in electronics manufacturing, repair, and prototyping. They're used to assemble circuit boards, replace damaged components, and connect wiring in consumer devices.
For instance, replacing a blown capacitor on a laptop's motherboard requires a 30W temperature-controlled iron. The technician heats the joint, removes the old component with a solder sucker, places the new capacitor, and re-solders. The entire process takes under 10 minutes.
They're also critical in DIY electronics. Building a Raspberry Pi robot involves soldering motor leads to a custom PCB. Using a 40W iron with a conical tip ensures clean, accurate joints without overheating sensitive ICs.
Many assume any hot tool can solder. But soldering irons are distinct from hot glue guns, heat guns, or torches. These tools lack the precision and temperature stability needed for delicate electronics.
Another misconception: soldering irons don't "fix" broken circuits. They only reconnect components. If a trace is severed, soldering alone won't restore continuity-it may require a wire jumper or rework of the board layer.
Also, solder quality affects results. Using lead-free solder (e.g., SnAgCu) requires higher temperatures than traditional tin-lead solder. Applying too much heat can lift copper pads from the board-a common failure in beginner builds.
I once spent 45 minutes troubleshooting a failed Arduino project. The issue wasn't the code-it was a cold solder joint on a voltage regulator. After reheating the joint with a calibrated 350°C iron, the board powered up correctly. That moment confirmed: a good soldering iron isn't just a tool-it's a diagnostic aid.
To use a soldering iron effectively, you need more than the iron itself. A complete setup includes:
Flux is important. It removes oxides and promotes wetting. Without flux, solder beads up instead of flowing. Most solder comes with a flux core-no extra application needed for basic tasks.
For complex work, a magnifier or microscope improves visibility. Surface-mount components like QFN packages require 0.5mm solder tips and steady hands.
Soldering irons are not the same as soldering stations. A station includes the iron, a temperature controller, and often a digital interface. Basic irons are standalone tools with no feedback loop.
Also, soldering irons differ from hot air rework stations. The latter uses heated air to melt solder on multiple pins simultaneously-ideal for BGA chips-but lacks the precision of a pointed iron for single-point joints.
Finally, never use a soldering iron on non-metallic materials. Plastics melt at low temps. Attempting to solder plastic connectors leads to permanent damage and fire risk.